Photographing Your Safari with a Smartphone
What if the only camera you own is an iPhone, Samsung of Google Pixel smartphone and you want to take safari photos? You might not see a smartphone on the best camera for wildlife photography lists, but does that mean you can’t capture great wildlife photography? Does it mean you should not go on a photo safari? Absolutely not.
With these smartphone photography tips, I’ll show you how it’s possible to photograph a safari with a smartphone. You’ll come home from your African safari trip with images you love, are proud to share and want to print.
BEST CAMERA FOR SAFARI?
You might be thinking that great safari photography can only be achieved with bulky and heavy dedicated cameras, long lenses, f-stop this and aperture that.
I’m here to say that the best camera for your safari is the one that is with you. Please don’t miss out on one of the most incredible experiences because you don’t have what some might consider a safari camera or wildlife photography camera or worse, don’t know how to use it.
Photographing my first South African safari
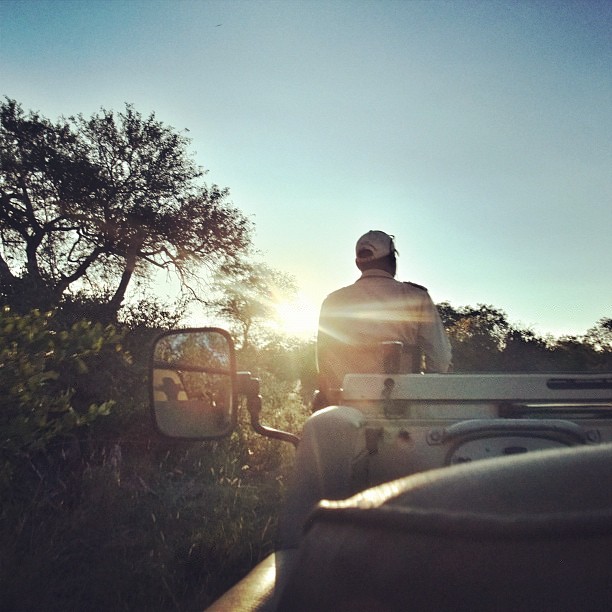
The first time I went on a safari in 2012, I photographed the wildlife, nature, and landscapes of the Greater Kruger National Park in South Africa with an iPhone 4s. True story.
As a professional portrait photographer that worked mostly in the studio back then, I didn’t have a telephoto lens for my Nikon cameras, and I didn’t want to invest thousands of dollars for a once-in-a-lifetime experience as I wasn’t a professional wildlife photographer. The photos were only for my memories. Some of those photos are featured in this article.
Although I travel with an Olympus OM-D e-m1 mark III mirrorless camera and 40-150 mm M.Zuiko 2.8 pro lens with a teleconverter on safari these days, I always, always take photos with my iPhone too. Some of my most cherished wildlife photos have been taken with my smartphone.
Tips to photograph the wildlife, landscapes, and nature with the phone in your pocket, your smartphone.
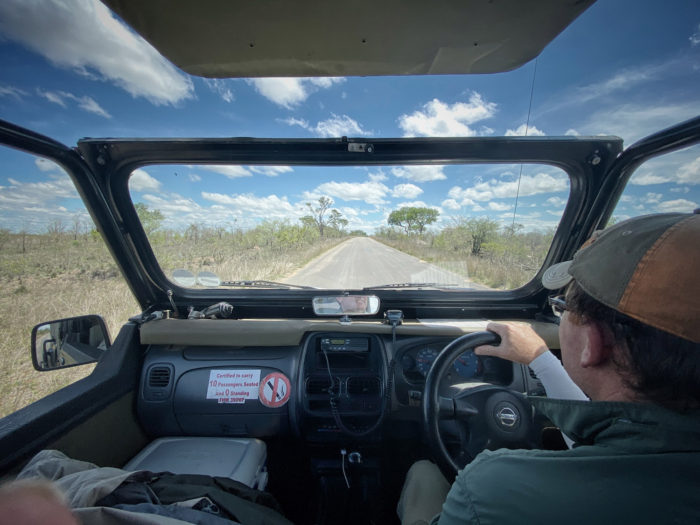
ON THIS PAGE I DISCUSS: (click on the link below to jump to the topic)
- Smartphone Photography Basics
- What to Photograph on Safari?
- Composition
- Find the Light
- What’s Your Angle?
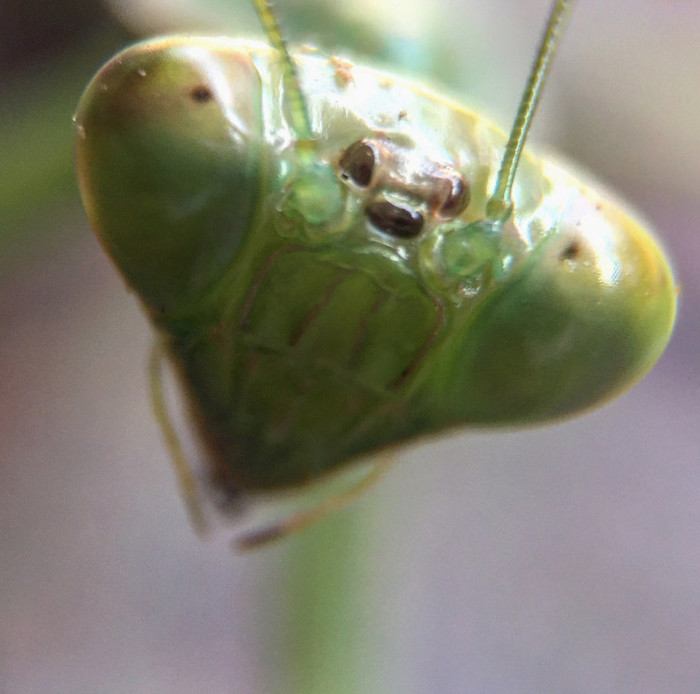
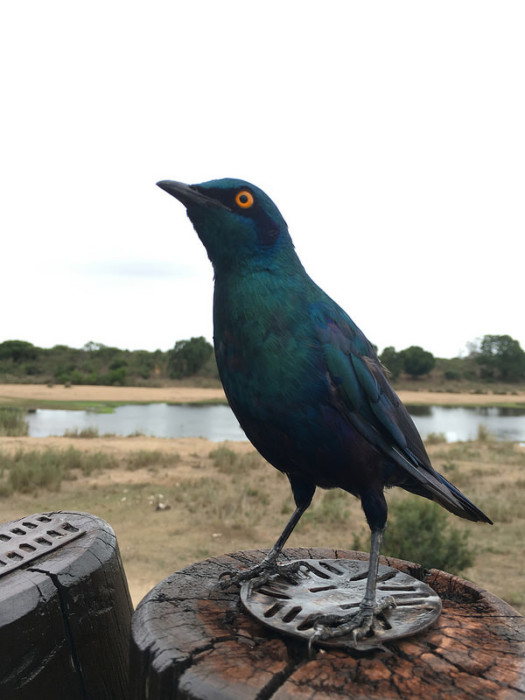
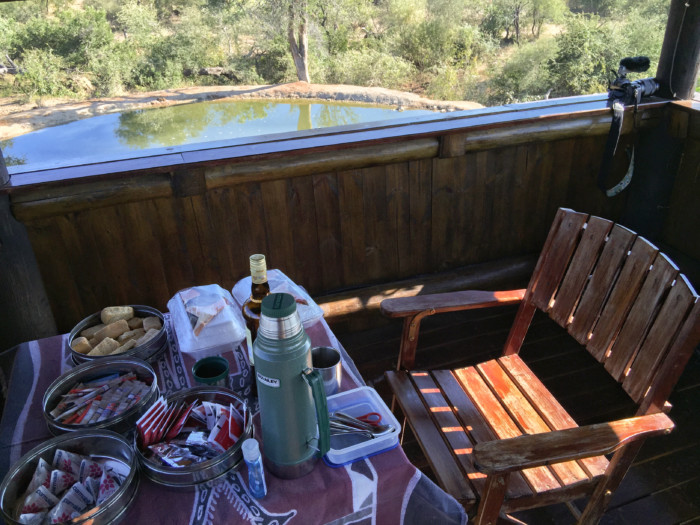
- It’s the little things: Details
- Panorama
- Video
- Accessories
- Connect
SMARTPHONE PHOTOGRAPHY BASICS
First, let’s start with some things to think about before you take the shot.
- Make sure the lens on the smartphone is clean. Consider carrying a small lens cleaning cloth.
- Tap your finger on the screen where you want to focus to activate the yellow square for focus and exposure (iPhone). The yellow sun icon will appear, drag up and down to adjust. For Android, tap the yellow sun icon and use the slider to change. ProTip: Purchase the ProCamera app as it will allow you to separate the focus and exposure. Tap the blue square for focus and the yellow circle for exposure.
- The shutter trips after you lift your finger off (white circle button on the iPhone).
- Keep steady. For sharper photos, slightly tuck in your elbows or lean against something.
- Keep level and watch your horizon.
- Photograph horizontally for a wider scene, photograph vertically for tall buildings, trees and close portraits (headshots). These rules can be broken.
- If possible, use your feet to get closer. Zoom if you have a dual-lens (2x or 3x on iPhone) smartphone or an add-on telephoto lens for your iPhone or Android phone (see below).
ProTip: Use the + (up) volume button on your iPhone (some Android phones) to trigger the shutter.
WHAT TO PHOTOGRAPHY ON SAFARI WITH A SMARTPHONE?
Go beyond the animal mug shot: Capture the Details
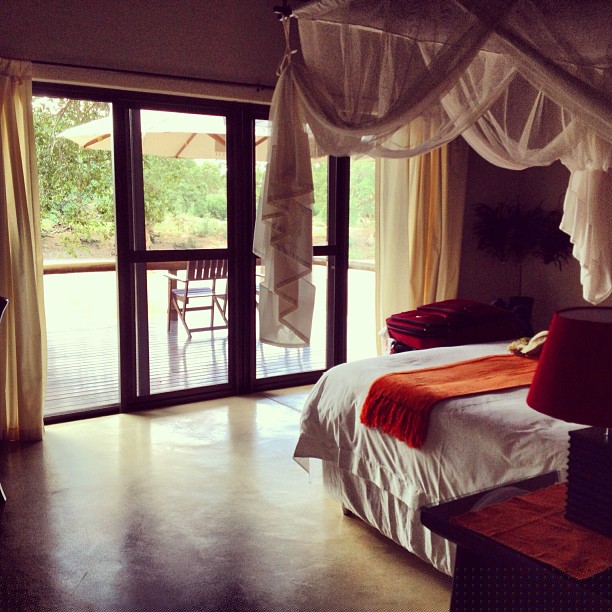
Remember to capture your unique, safari story. The safari lodge you choose for your South Africa safari holiday might be one of the most luxurious accommodations you’ve ever stayed at. It certainly has been the case for me.
Photograph your room and the view, the environment and all the luxurious details – the bed, the decor, the grounds, and the surrounding area.
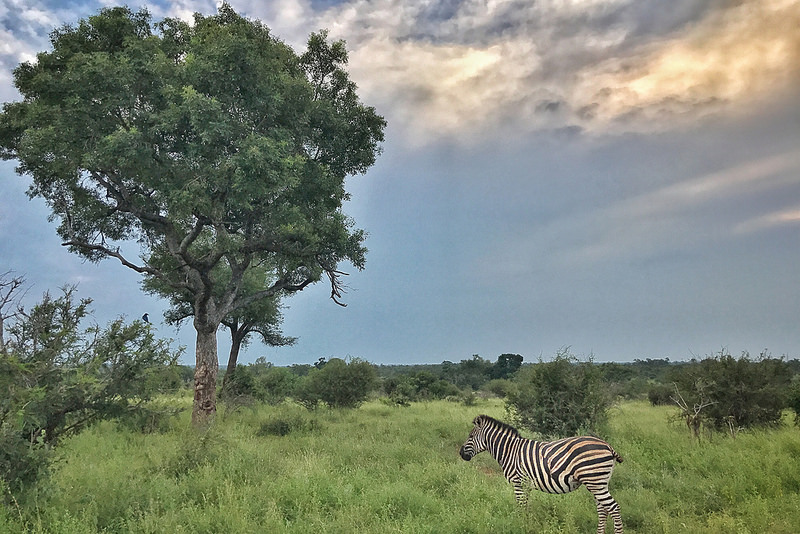
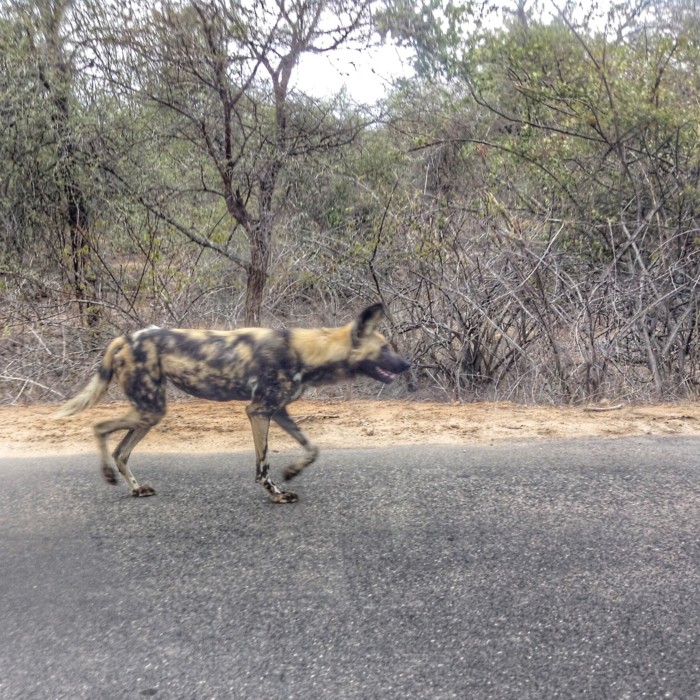
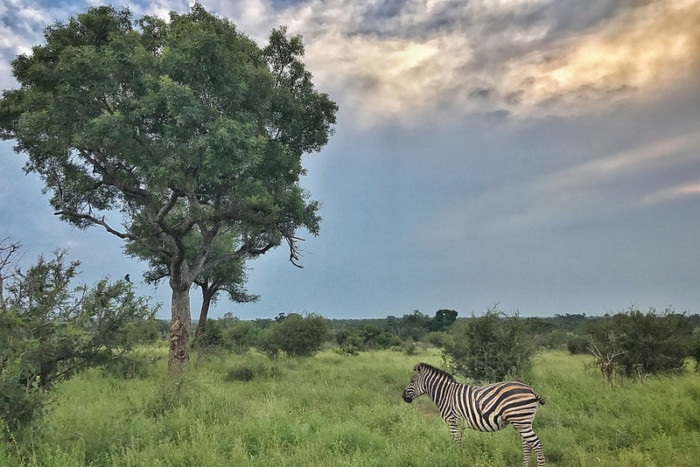
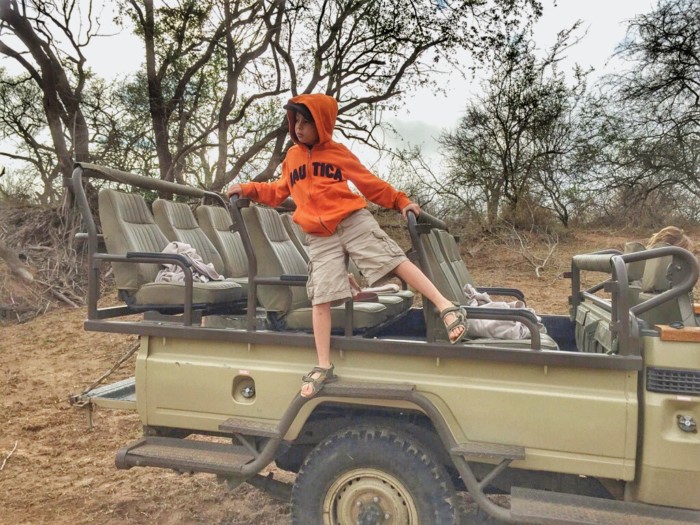
Photograph beyond the animal mug shot, show wildlife in their habitat and surroundings. This is something that should you do whether you use an iPhone, Samsung, Google Pixel, Sony, Nikon, Canon, Fuji or Olympus camera for your wildlife photography. Focus on telling the animal’s story.
Capture the sunrises and sunsets, the landscapes, trees, flowers, insects, and silhouettes.
The natural beauty of South Africa is some of the best I’ve experienced anywhere. The Kruger National Park has one of the most diverse wildlife, landscapes, and fauna. It truly is a special park and is one of my favourite places in the entire world. For many, a safari is a once-in-a-lifetime experience, and every detail deserves to be captured.
SAFARI PHOTOGRAPHY TIPS AND THE BEST COMPOSITIONS
- FRAMING
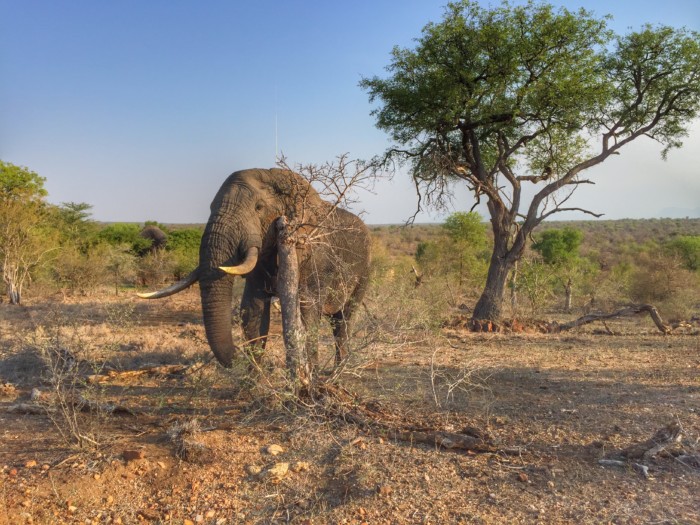
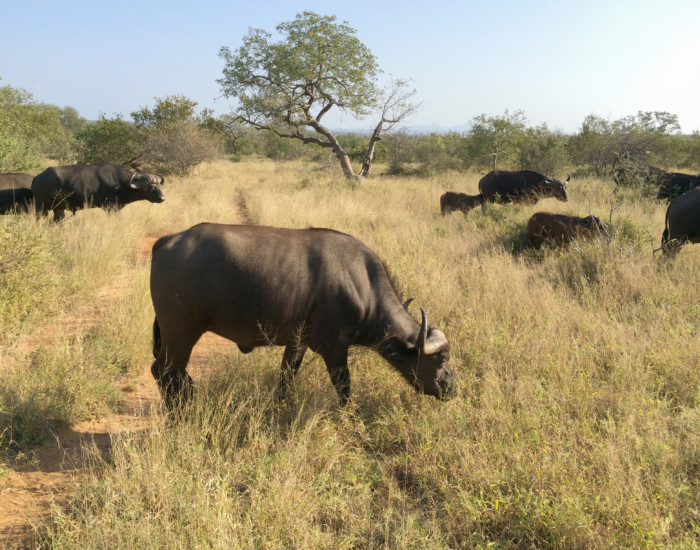
Use literal, structural, architectural or environmental elements to bring focus to your subject.
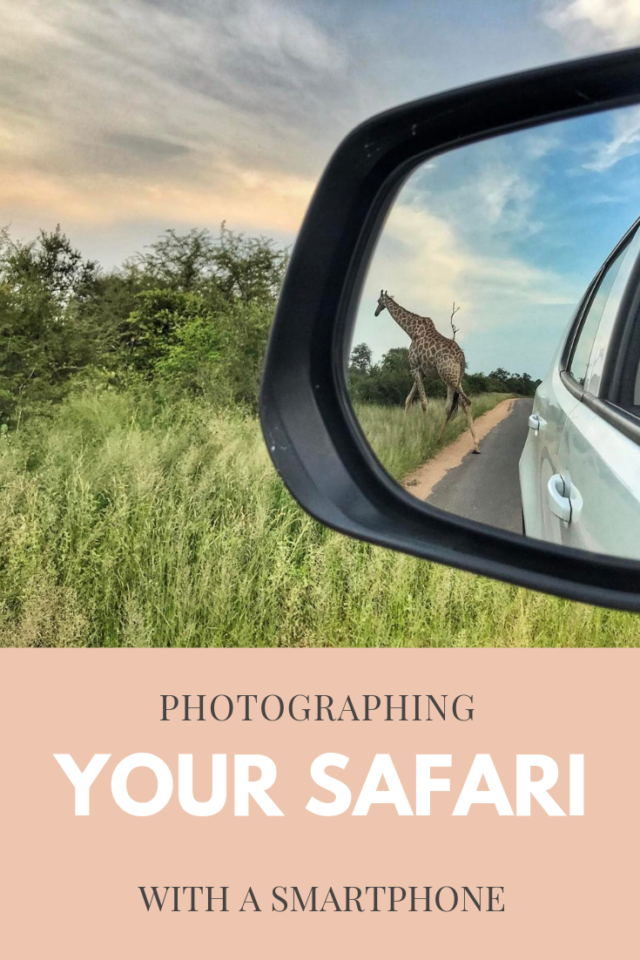
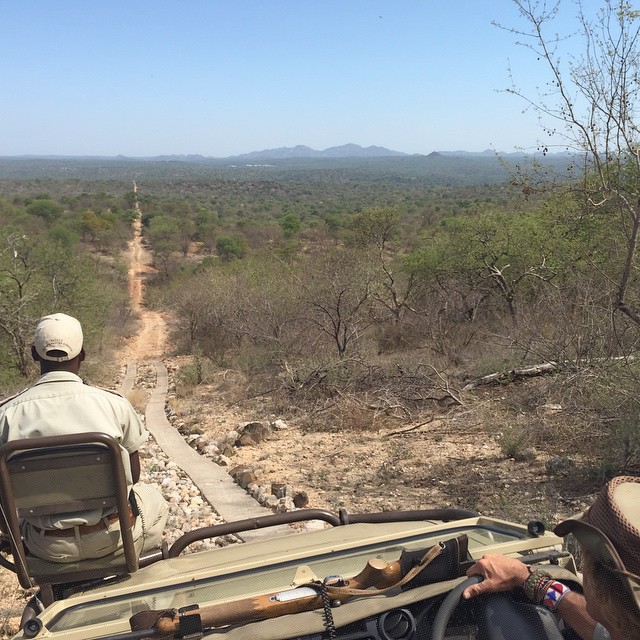
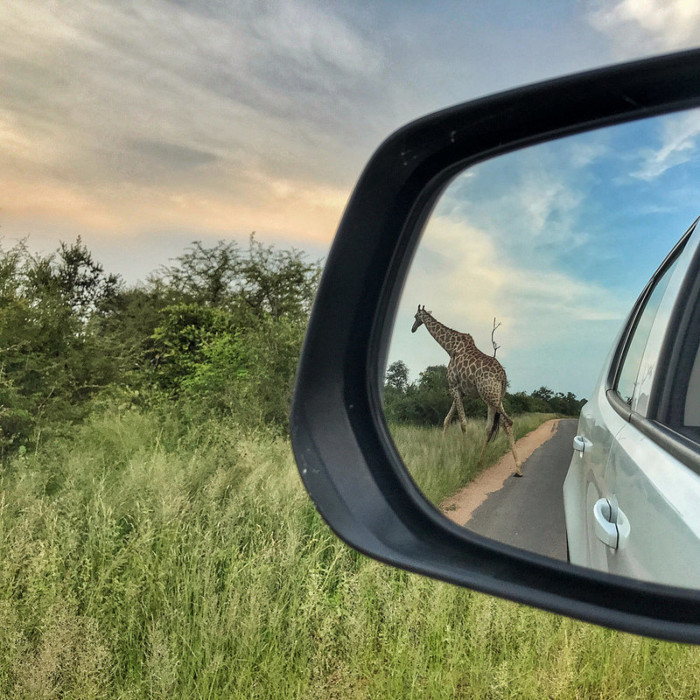
When on safari with your smartphone, think of trees, the landscape, the sky, and other animals to frame your main subject. Use the side view mirrors if you are self-driving in Kruger National Park or any other self-drive national park.
- LEADING LINES
Leading lines help to guide a viewer through a photograph. They can also direct the viewer to the subject or focal point of the image. They can be straight, diagonal, curved or suggested lines.
- RULE OF THIRDS
The rule of thirds is used to produce a balanced image. Imagine dividing this photo into 3 lines across and 3 lines down. The idea is to place the essential elements along the gridlines or at the intersections where the lines meet.
Make sure you have your grid activated on your smartphone to help you see it.
The rule of thirds works well with the idea of leaving space for the subject to look to or move into. Place the horizon along the top or bottom 1/3 for a strong compositional mobile photo.
FIND THE LIGHT
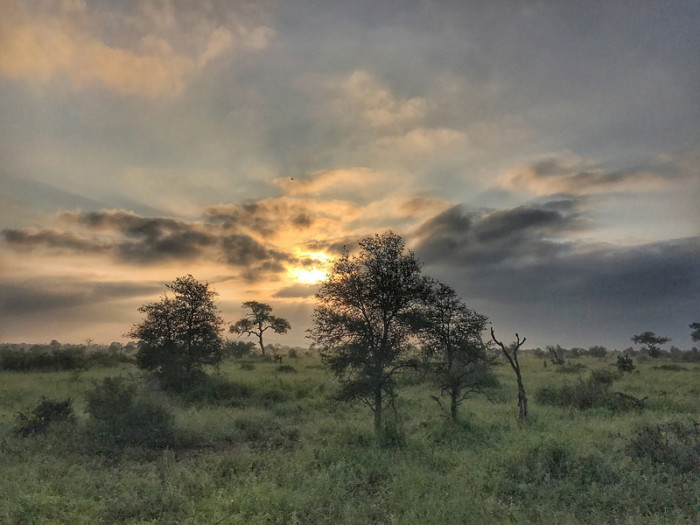
Light is an essential part of photography and is often overlooked. Light can make or break an image. It can also help tell a story. Use light to create the mood and feel of your image. Pay attention to the sun and where it is in the sky. The light within an hour after sunrise or an hour before sunset is when the sun is lower in the sky and creates a beautifully soft and warm light for photography.
Natural light is fleeting and ever-changing so don’t hesitate to take that shot.
The harsh, shadow-creating light of midday can create some interesting effects. Don’t be afraid of it.
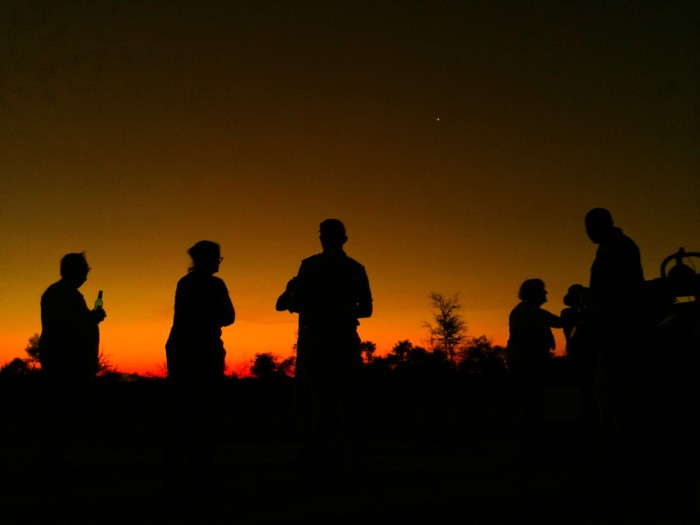
SILHOUETTES
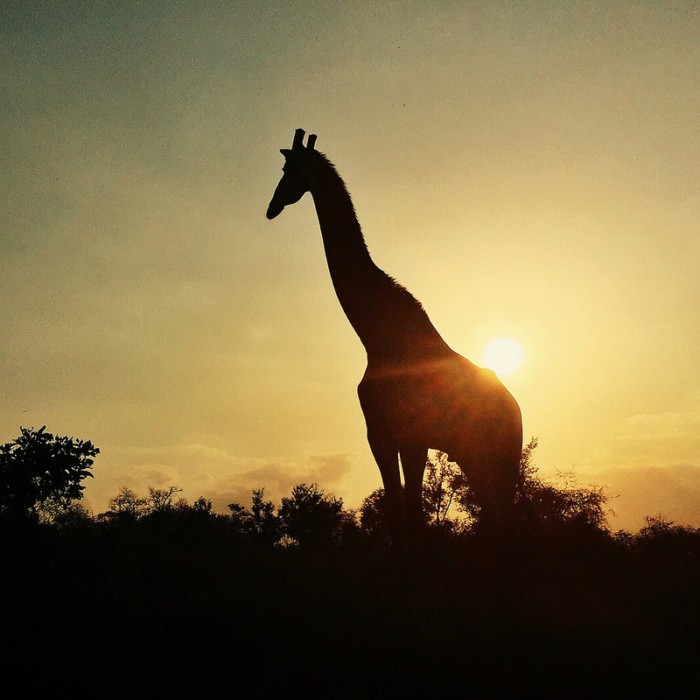
Silhouettes are a great way to capture images when the light has faded or to create anonymity in a photo. Take advantage of the opportunity to create a silhouette image. Look for animals or trees/dead trees with the light behind them. Shoot towards the sun. You may have to get lower and point upwards to separate the subject from the horizon.
WHAT’S YOUR ANGLE?
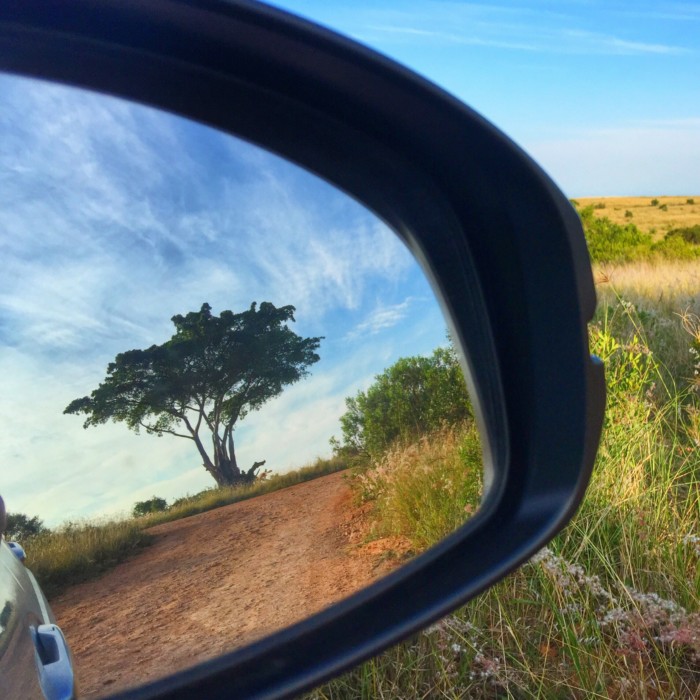
Unless an animal is nearby, it’s difficult to capture the details with a smartphone. Tell the whole story and include the animal’s environment. Try a different angle, don’t be afraid to experiment. Look in the side-view mirror and capture what’s behind you. Capture the wildlife, road, trees, and mountains using the side view mirror.
IT’S THE LITTLE THINGS: DETAILS
Capture the details of nature and your surroundings.
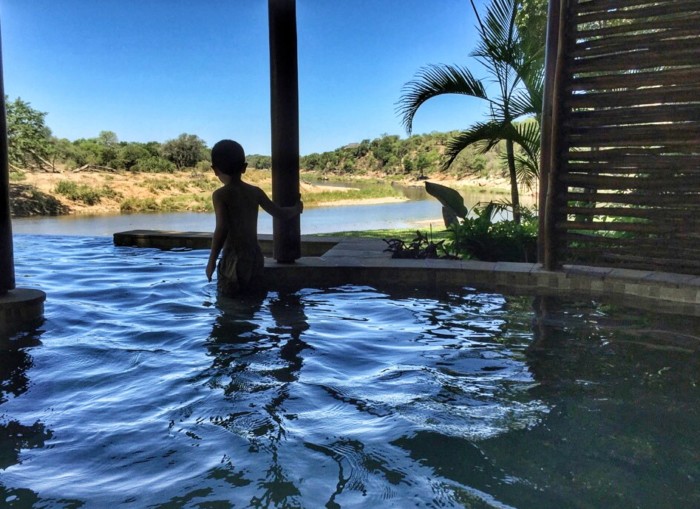
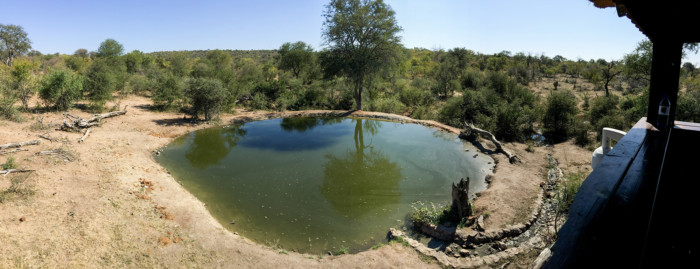
GO WIDE AND SHOOT A PANORAMA WITH YOUR SMARTPHONE
Check to see if your smartphone has a panorama option. You’ll find it in the native camera app on the iPhone. Hold steady and keep the arrow on the line. Tip: Tap the photo square to change directions.

CAPTURE VIDEO WITH YOUR SMARTPHONE
Things to Consider:
- Put your phone in airplane mode when recording
- Lock the exposure to avoid a change in brightness
- Use a gimbal or mini tripod for stabilization.
- Timelapses are a great way to show a busy environment – clouds, sunset/sunrises
- Film close and wide shots, telling details, different angles
- Film in motion (pan up/down, left/right) to move the story along
- Film more video than you need, and cut (split) when editing.
- Keep scenes to 2-5 seconds depending on how fast you want to cut to the next scene.
AN ENCOUNTER WITH A WILD AFRICAN ELEPHANT PHOTOGRAPHED ON IPHONE
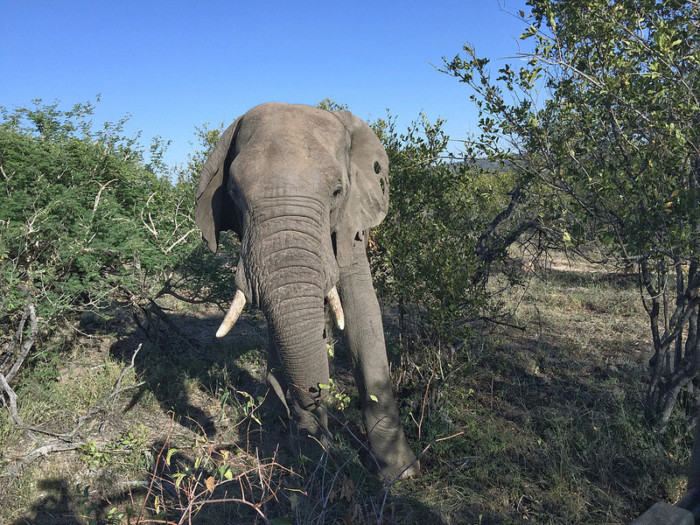
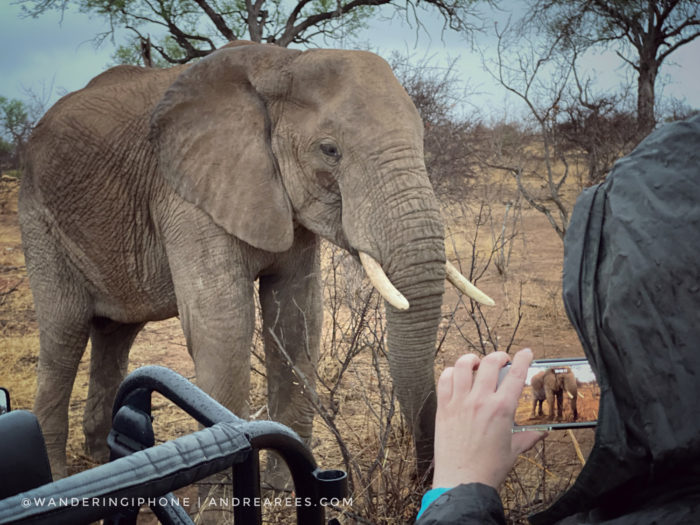
Sometimes the animals come to you, and you have to capture the moment with your iPhone. This elephant was too close to photograph it with my Olympus OM-D E-M1 mirrorless camera and M. Zuiko 40-150mm 2.8 pro lens (the full-frame equivalent of 80-300mm).
For the full elephant encounter story and video, visit here.
Read: Tips for Family Travel to South Africa
Disclosure: This article may contain affiliate links for Moment products. It means that if you click on a link to purchase a product I recommend I earn a small commission. It is no additional cost to you. For more information, read my full disclosure and privacy page. If you have any questions about the Moment lenses or cases, please do not hesitate to contact me.
SOME OF MY FAVOURITE ACCESSORIES
Did you know that you can get a telephoto lens for iPhone or Android phones?
In 2012, I had a telephoto lens for my iPhone 4s, and it looked ridiculous, but aesthetics do not matter if it does the job, right? I took it on safari with me and I did capture a few images with it. Unfortunately, the photos weren’t of good quality. The lens didn’t fit well so there was a lot of vignetting. I didn’t recommend that lens to anyone and never used it again.
I had the macro and wide-angle Olloclip lenses when I had the iPhone 4s and iPhone 6. Their lenses are okay, but not as good as I hoped they would be. The 2 things that bothered me about the Olloclip system are 1. I had to remove my case and 2. if I upgraded my iPhone, I had to buy new lenses.
I had been keeping an eye on a few different smartphone lens companies for a few years, and in 2017, I decided to invest in Moment lenses. I didn’t invest in the Moment system until I heard that they offered cases that the lenses could be attached to (around the time I had an iPhone 6s). I never use my iPhone without a case on it.
MOMENT ADD-ON LENSES AND CASES
There is no loss of quality with Moment lenses and the wide lens (1x). The best part is that if you upgrade your smartphone, you only have to purchase a new compatible case and not a new set of lenses like you have to with Olloclip lenses. The lenses rotate into the case and fit perfectly. With Olloclip or other clip-on lenses, you have to line it up and hope it stays. Moment cases are available for iPhone, Samsung Galaxy and Note, Google Pixel and One Plus smartphones too.
Moment add-on lenses for iPhone
Click on the text below for more info on Moment Phone lenses and cases.
- Moment 58 mm tele lens for iPhone or Android – (if you have a dual-lens iPhone or smartphone, this gives you 4x optical zoom)
- Moment wide-angle lens for iPhone or Android
- Moment anamorphic lens with gold flare for iPhone or Android
- Moment macro lens for iPhone or Android
Moment Cases for add-on lenses
- iPhone Cases for Moment add-on lenses
- Samsung Cases for Moment add-on lenses
- Google Pixel Cases for Moment add-on lenses
- OnePlus Cases for Moment add-on lenses
THE BEST ACCESSORIES FOR SMARTPHONE PHOTOGRAPHY AND SMARTPHONE VIDEO
I personally use these products listed below.
- 20000 mAh Anker portable battery charger (charges my iPhone 4-5 times)
- Rode Video micro & sc7 (sc7 needed for smartphones)
- DJI OM 5 – foldable gimbal, may not be compatible with heavier iPhones + lenses. Check the Moment website. I have an earlier version.
- Moment Mobile Lens Carrying Case – 2 lenses
- Peak Design Field Pouch – holds my lenses, a small portable battery charger, and other accessories
- Peak Design Everyday Sling – if you want something a little larger, this is a great option. I have the 5L sling. I love Peak Design too!
READ: Seeing the Light: Tips for Mobile Photography Portraits
MOBILE PHOTOGRAPHY WORKSHOPS
I’ve been a professional photographer since 2003 and a mobile photography educator since 2013. I offer live virtual smartphone photography workshops on Zoom and in-person workshops in Toronto, Canada.
Take Your Smartphone Photography to the Next Level and create photographs of your travels, landscapes, nature, wildlife, and people with your smartphone.
I offer a public and private group 60-minute virtual workshop through Airbnb Online Experiences or for a private series of workshops (2 or 3 workshops), check here.
TO LEARN MORE, VISIT: MOBILE PHOTOGRAPHY WORKSHOPS
AIRBNB ANIMAL EXPERIENCES
If you’re in Toronto or visiting the area and are into nature, birding and wildlife photography, I offer a birding/nature walk + photography lesson through Airbnb experiences Toronto.
I hope these tips will help you create cherished photos of your safari. If you have any questions, please do not hesitate to contact me.
SUBSCRIBE to wanderingiPhone.com for staying in the loop – exclusive opportunities, photo tours, workshops, webinars, and subscriber discounts on mobile photography workshops, consulting and more.
